A Foliage Spring Wreath

A wreath is not just for Christmas!
Wreaths are becoming more and more popular throughout the year. Making a foliage wreath is quite straight forward. Foliage wreaths often look just as beautiful when the foliage dries out.
I never use floral foam to create wreaths or any other floral design. Floral foam is damaging to the environment. The technique I used to create this wreath is sustainable. The rattan wreath base can be re-used. Twine can be used instead of reel wire to make the design fully biodegradable. The moss can be re-used and the foliage can be put in the compost heap. Alternatively, when the foliage dries out the wreath can be kept as an everlasting wreath.
You will need:
Secateurs or garden scissors
A wreath ring
Reel wire or twine
Moss (I bought the moss from a local garden centre as foraging moss in the UK is not permitted)
Foliage

Ruscus

Pistache

Eucalyptus
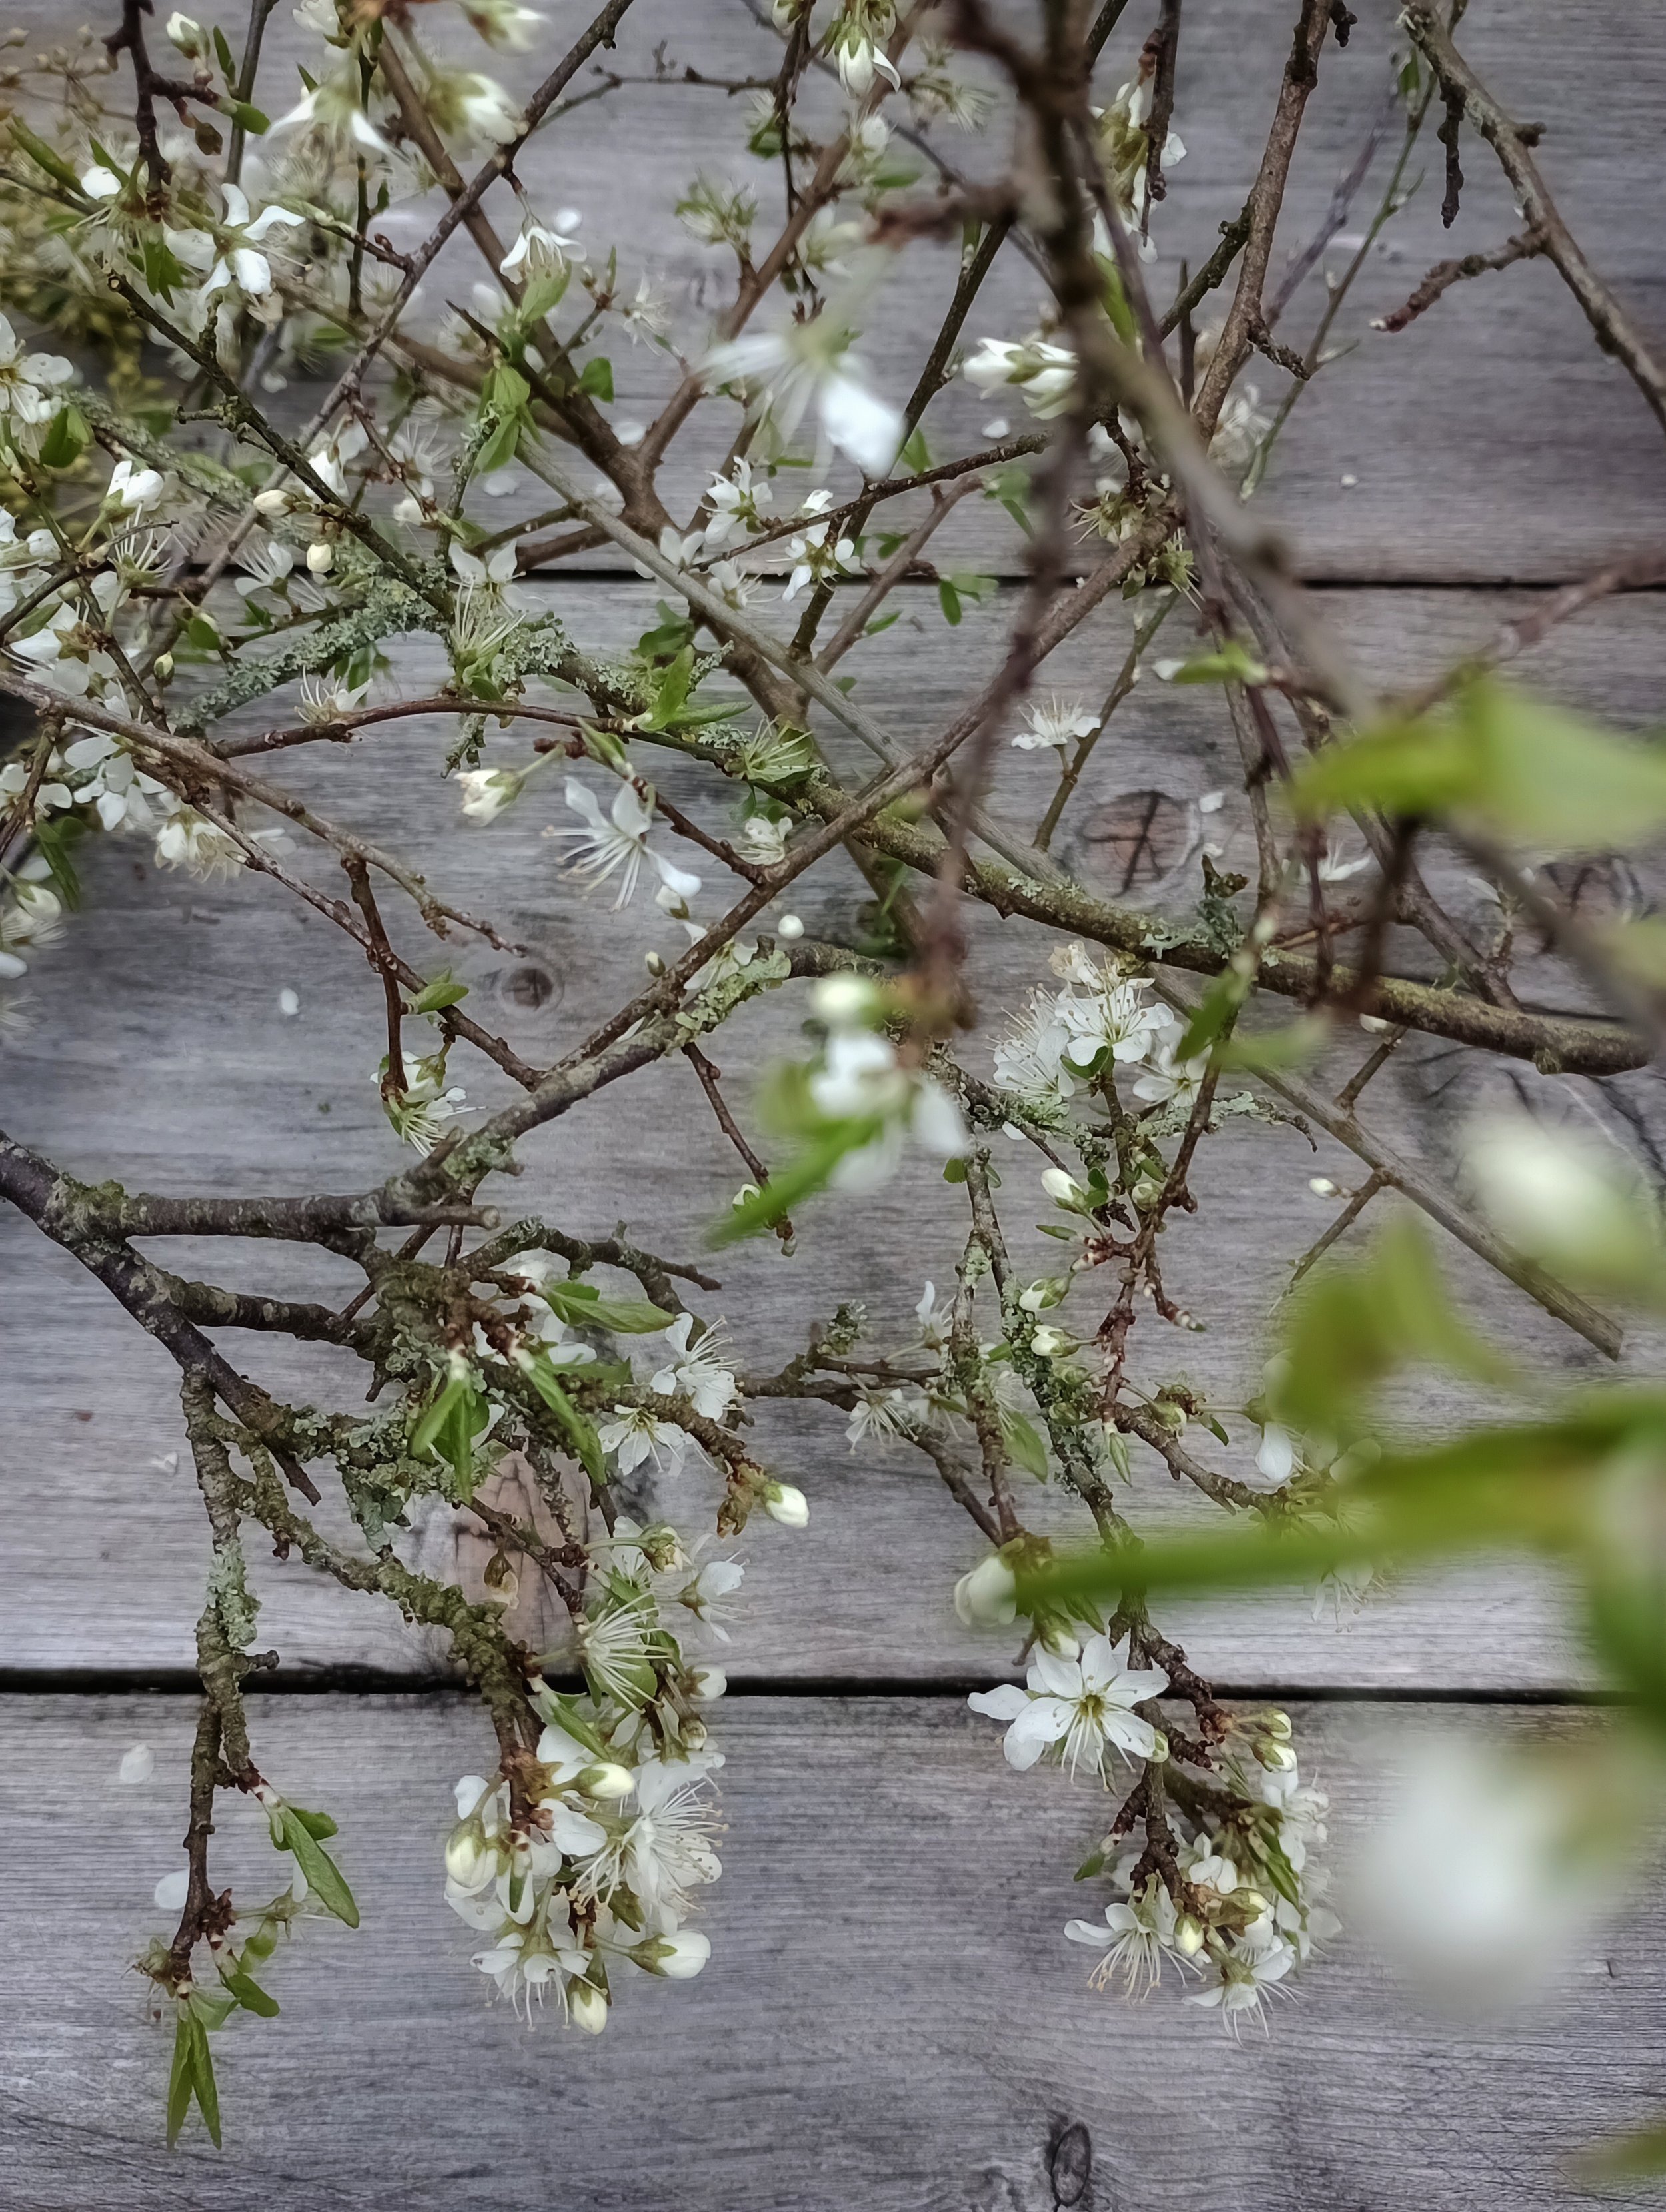
Hawthorn

Niwaki Garden Scissors

Rattan Wreath
Step 1:
Add a loop of twine to the back of the rattan wreath base so that it can be hung from a door/wall. Attach the reel wire to the wreath. Make sure the reel wire is secure. The reel wire will stay attached to the wreath until all the foliage has been added.

Step 2:
Add the moss to the rattan wreath base by wrapping the reel wire a few times around the moss and pull tight (but not too tight or the reel wire will break!). If the moss is dry, simply place in a bucket of water. Squeeze the excess water from the moss before adding to the rattan wreath base. The moss will keep the foliage hydrated.

Step 3:
Once all the moss is added, attach the bundles of foliage. The bundles can be created before hand. I prefer to make the bundles as I go! Create the bundles into a fan shape. This ensures that the larger stems are on the outside of the wreath. The larger the foliage bundles, the larger the wreath!

Step 4:
Continue to add the bundles of foliage, placing each bundle slightly over the top of the other so that there are no gaps.

Step 5:
Keep checking that you are happy with the shape of your wreath. A good tip is to place the wreath on the floor to check the shape of the design. Continue to add the bundles until the entire wreath is covered.
Step 6:
Add the Hawthorn and other additional foliage stems to create some depth to the design. I added several additional stems of Eucalyptus once the wreath was complete. To do this, simply cut the stem at a 45-degree angle and poke into the moss. This technique can also be used to fill any gaps in the design.

Step 7:
Secure the reel wire by wrapping it around the back of the rattan wreath base a few times and tie. Mist the wreath and hang on a wall or door.
The wreath can also be placed on a table with the addition of a hurricane vase and candle. It is best to place the wreath on a large plate to ensure the wet moss does not damage the table.
Step 8:
To keep the wreath moist, mist every few days and check that the moss has not dried out. Once a week, place the wreath into a sink of water to rehydrate the moss.